When preparing for international travel, obtaining a US passport is one of the first steps, and one of the most crucial aspects of this process is ensuring that your passport photo meets all the required guidelines. Many travelers make errors that can delay their application or cause rejection of their passport photo. Understanding the specific requirements and how to meet them will ensure your application goes smoothly. In this article, we’ll explore everything you need to know about US passport photo requirements and how to avoid common mistakes.
What Are the US Passport Photo Requirements
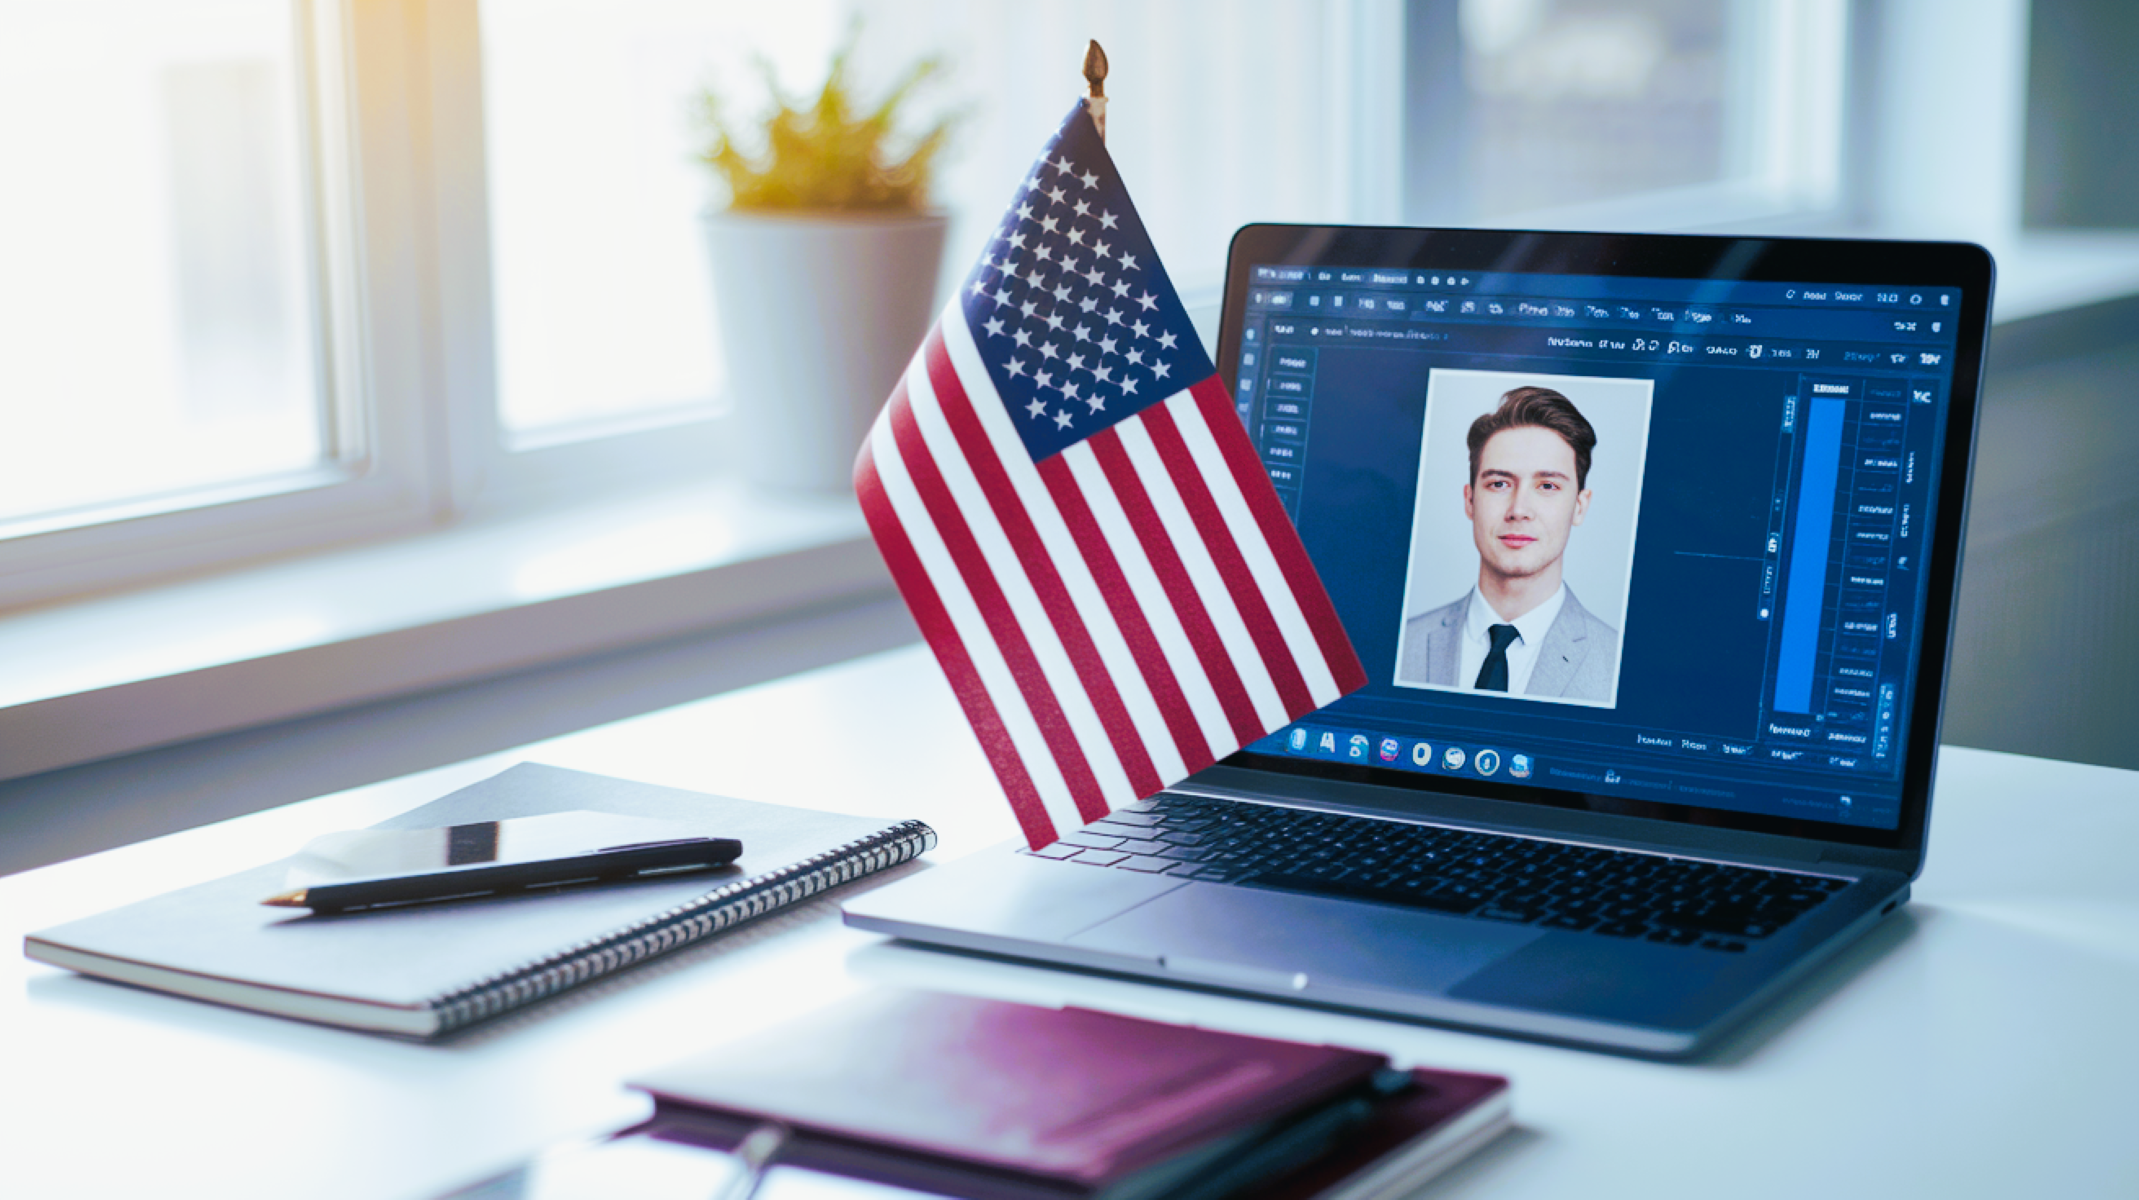
The US Department of State has established a set of specific and strict guidelines for passport photos to ensure that each photo is clear, accurate, and meets security standards. These regulations are in place to help identify individuals easily and to avoid any ambiguity during the passport issuance process. One of the most important reasons for having such strict standards is that the passport photo plays a critical role in international security. Passport photos must match the person’s appearance precisely, which is why the photo must meet these requirements exactly. Failure to comply can lead to delays in the passport application process or even rejection, which is something you certainly want to avoid.
Choosing the Right Photo Background
Selecting the right background for your passport photo is critical, as it is one of the most common reasons for rejection. The background must be solid and uniform in color, and it should be plain white or off-white. Any patterned, textured, or colored backgrounds are not acceptable, as they can create confusion or reduce the clarity of your face in the image. In some cases, even slightly off-white or cream-colored backgrounds can cause issues, as they may not provide the necessary contrast for identification purposes. To meet this requirement, ensure that you are standing in front of a clean, neutral-colored wall or use a professional photo backdrop designed for passport photos.
If you plan to take the photo yourself, it’s important to be mindful of the lighting and shadows that might be cast on the background. Natural light is the best option, as it creates even, flattering illumination without harsh shadows that can distort your face. You should also avoid any reflective surfaces or items that may show up in the background, such as windows, mirrors, or furniture. Even the slightest distraction can cause your photo to be rejected. Keeping your background simple and neutral helps focus all attention on your face, which is the most important aspect of the photo.
Facial Expression and Head Position
When it comes to taking a passport photo, maintaining the right facial expression and head position is essential. The US Department of State requires that your facial expression be neutral, meaning you should avoid smiling, frowning, or making any exaggerated facial gestures. A neutral expression helps ensure that your photo represents your natural, unaltered appearance, which is crucial for identification purposes. Having a smile or a frown can distort your features and may result in the rejection of the photo.
Here are some important guidelines to follow:
- Neutral Expression: Keep your face relaxed and avoid any smiles or frowns.
- Eyes Open: Both of your eyes must be fully visible and open; closed or squinted eyes can lead to a photo rejection.
- No Exaggerated Expressions: Ensure that your face appears calm and natural, without any extreme or forced expressions.
In addition to facial expression, the position of your head is equally important. The US passport photo guidelines dictate that your head should be centered in the frame, facing directly forward. This positioning helps officials clearly identify your face during verification. You should avoid tilting your head in any direction, as this can distort your natural alignment and make the photo invalid.
- Head Centered: Ensure your head is in the middle of the frame.
- Face Directly Forward: Your face should be facing the camera straight on.
- Avoid Tilting or Turning: Keep your head straight with no side tilts or downward/ upward angles.
By ensuring that both your facial expression and head position meet these requirements, you’ll have a passport photo that adheres to all necessary guidelines, ensuring smooth processing.
Clothing Guidelines for Passport Photos
Your choice of clothing for your passport photo may seem like a minor detail, but it plays a significant role in the acceptance of the photo. The US passport photo guidelines suggest wearing simple, dark-colored clothing to avoid distractions from your face. Light-colored clothing or bright patterns can create visual noise, making it harder to clearly distinguish your features. Dark colors, like navy, black, or dark gray, are recommended because they provide good contrast against the white background and focus attention on your face.
Here are the key clothing guidelines to keep in mind:
- Simple Clothing: Choose solid, dark-colored clothing for a clean, neutral look.
- No Uniforms: Avoid wearing uniforms, as they can be confusing and unnecessary for passport identification.
- No Logos or Graphics: Do not wear clothing with visible logos, designs, or text, as these can distract from your appearance.
Additionally, it is important to avoid wearing clothing that is too light or blends in with the background. For example, white or pale colors are not recommended because they may cause you to blend into the white backdrop, making it difficult to distinguish your body from the background. This could result in an unclear image and lead to a rejected passport photo.
- Avoid White or Light-Colored Tops: These colors can cause you to blend with the background.
- No Headgear (Except Religious or Medical): Hats, scarves, and other headgear should not be worn unless for religious or medical reasons. This ensures that your face is fully visible, without any obstructions.
By following these clothing guidelines, you ensure that your passport photo is both professional and adheres to the specifications, helping to avoid any issues during the application process.
Eyeglasses in Passport Photos
In recent years, the US Department of State has updated its policy regarding eyeglasses in passport photos. The new rule states that eyeglasses are no longer allowed unless they are medically necessary. If you normally wear glasses for vision correction, you are required to remove them before taking your passport photo. The reason behind this change is that glasses can cause glare or reflections, which may obscure important features like your eyes and face. For clarity, the Department wants to ensure your facial features are fully visible without distractions or visual obstructions.
However, if you must wear glasses for medical reasons, such as to correct vision, it is allowed but with specific conditions. You must ensure that there are no reflections or glares in the lenses that obscure your eyes. Additionally, the eyes should be clearly visible without any distortion from the glasses. In cases where it is necessary to wear glasses, make sure to position your face properly and adjust the lighting to avoid any glare or shadows caused by the glasses.
| Condition | Requirement | Exception |
| Wearing glasses | Glasses must be removed for the photo. | Medical necessity |
| Reflection or glare | Glasses should be free from any reflections or glare. | Glasses must be clear, no distortion to the eyes |
| Eyes visibility | Eyes must be clearly visible in the photo. | Glasses should not obstruct vision. |
Lighting Considerations for Your Passport Photo
Proper lighting is an essential factor in ensuring that your passport photo is clear and acceptable. Poor lighting can lead to unwanted shadows, overexposure, or distortion, which could ultimately lead to the rejection of your photo. To ensure a high-quality result, natural light is the best option for illuminating your face. Natural light provides even and soft illumination, reducing the chances of harsh shadows or glares. It helps make your facial features appear more accurate, which is important for identification purposes.
On the other hand, artificial lighting, especially from overhead lights or strong light sources, should be avoided. Overhead lighting can cast unflattering shadows on your face, making it difficult to distinguish your features clearly. Additionally, strong lighting can create glare, which is another reason why it’s best to avoid such light sources. When positioning yourself for the photo, make sure the light falls evenly on your face, eliminating dark spots or reflections. If you’re taking the photo indoors, try to position yourself near a large window to capture natural light.
| Lighting Type | Recommendation | What to Avoid |
| Natural light | Use soft, even light from windows or natural sources. | Avoid artificial lights with harsh glares. |
| Positioning | Position yourself with the light facing your face evenly. | Avoid overhead lights creating shadows. |
| Reflection or Glare | Ensure that no part of the face is overly lit or shadowed. | Avoid direct light on your face that may cause glare. |
Ensuring Photo Quality and Clarity
For a passport photo to be accepted, the image must meet strict quality standards. It is essential that the photo is sharp, in focus, and free from pixelation or blurriness. A blurry photo or one that is too dark will not be accepted by the US Department of State. Inaccurate or low-quality photos can lead to delays in processing or outright rejection. This is why it’s vital that the image you submit is of high resolution, clearly capturing your features.
If you’re uncertain about whether your photo meets these high standards, consider visiting a professional photographer. Many studios specialize in passport photo services and can guarantee that the photo will meet all necessary guidelines, including proper lighting, background, and clarity. Professional photographers have the expertise to ensure the photo is in focus and has the correct dimensions, saving you time and effort in case your self-taken photo doesn’t meet the requirements.
Avoiding Digital Alterations or Filters
It’s essential to remember that passport photos cannot be digitally altered or edited in any way. This includes applying filters, retouching, or any form of digital manipulation that changes how you appear in real life. The US Department of State requires that passport photos represent you exactly as you look, without enhancements or alterations. Digital editing can change the image’s accuracy, making it difficult to match the photo with your actual appearance, which is the primary goal of the passport photo.
Filters, such as those used on social media, or even basic retouching to remove blemishes, can lead to the rejection of the photo. These modifications distort the true representation of your face, which defeats the purpose of the passport photo. To ensure your photo is accepted, it is critical to submit an unedited, natural version of your image. Do not use photo-editing apps or software to alter any aspect of your appearance. An unmodified, authentic photo is always your best option for passport acceptance.